✉️ Managing invitations
The Invitations tab lets you invite an external user to join the company.
Creating an invitation
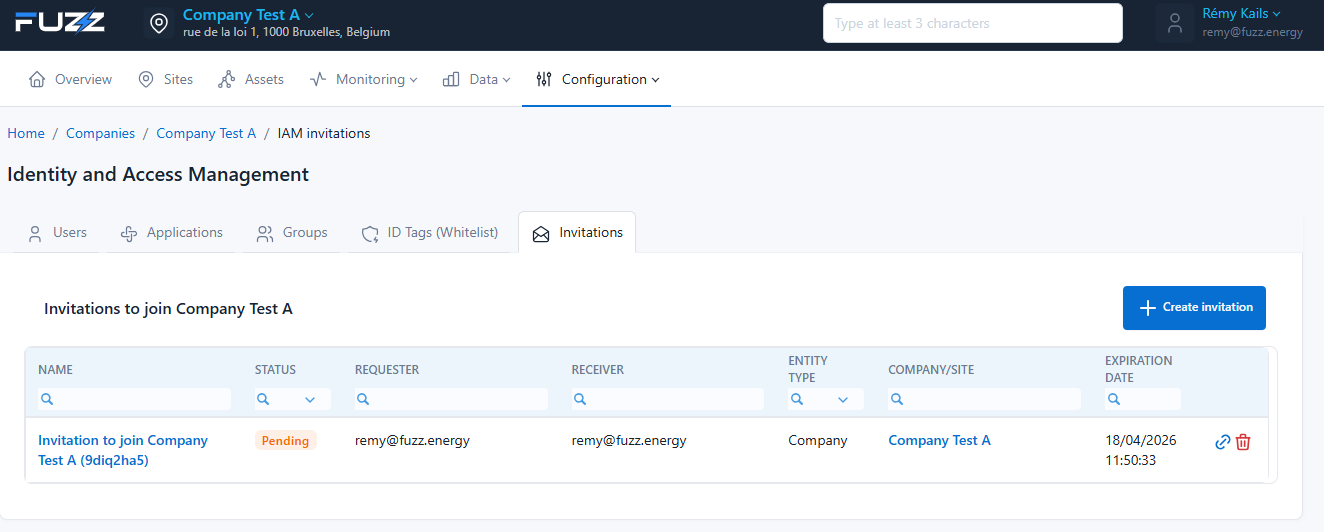
To send an invitation:
- Open the Invitations tab
- Click on Create invitation
- Fill in the recipient's email address
- Choose the entity type
- Choose the role to assign
- Click on Submit
Invitation settings
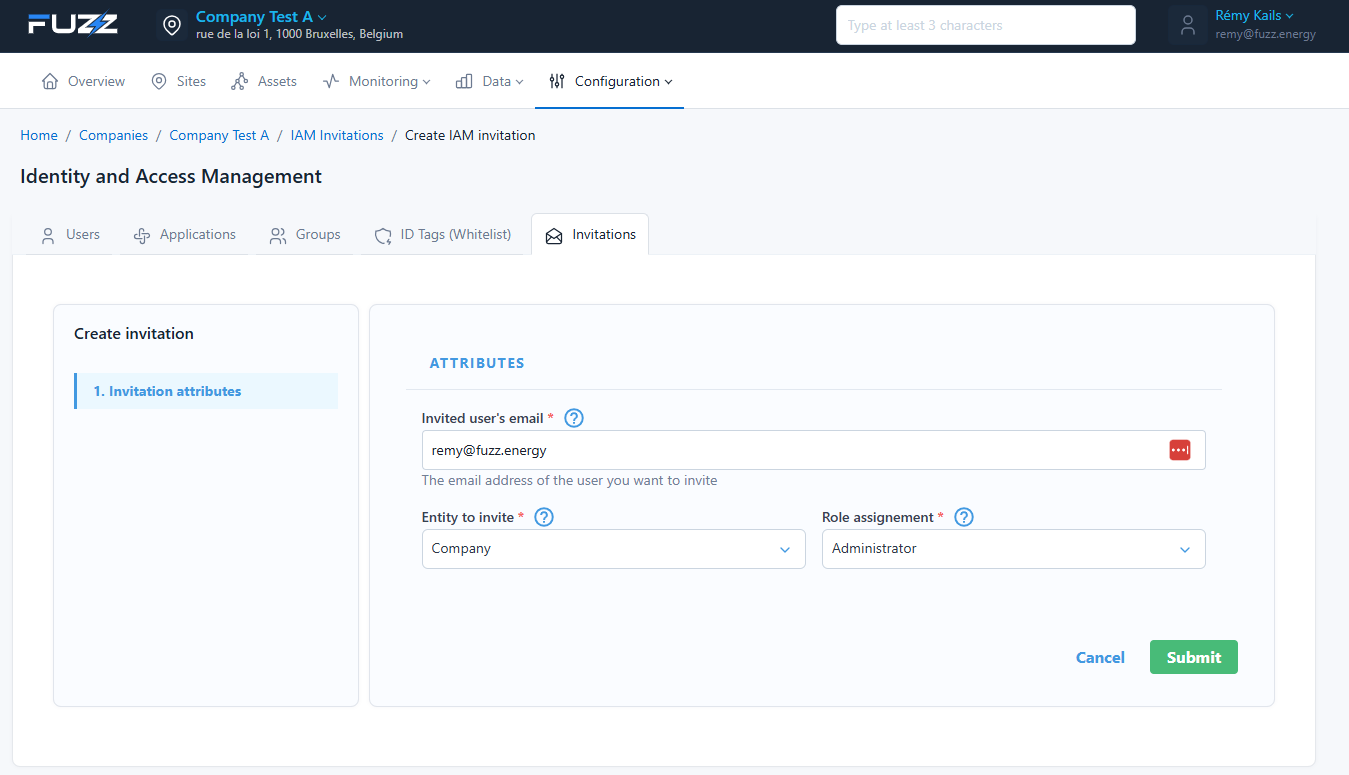
An invitation lets you define:
- Invited user's email
- Entity to invite: the user or their whole Company
- Role assignment:
- If Entity = User, it is the external User's role in the Company
- If Entity = Company, it is the highest possible role for Users in the Company
Example:
- Jack is an administrator of "Company A"
- A user of "Company B" shares access with Jack from the "Invitations" page by selecting Entity = Company and Role = Operator
- Jack will have an Operator role in "Company B" and Administrator in "Company A"
- Jack creates a user with the "Read Only" role in "Company A"; that user will automatically also receive "Read Only" access to "Company B"
Tracking invitations
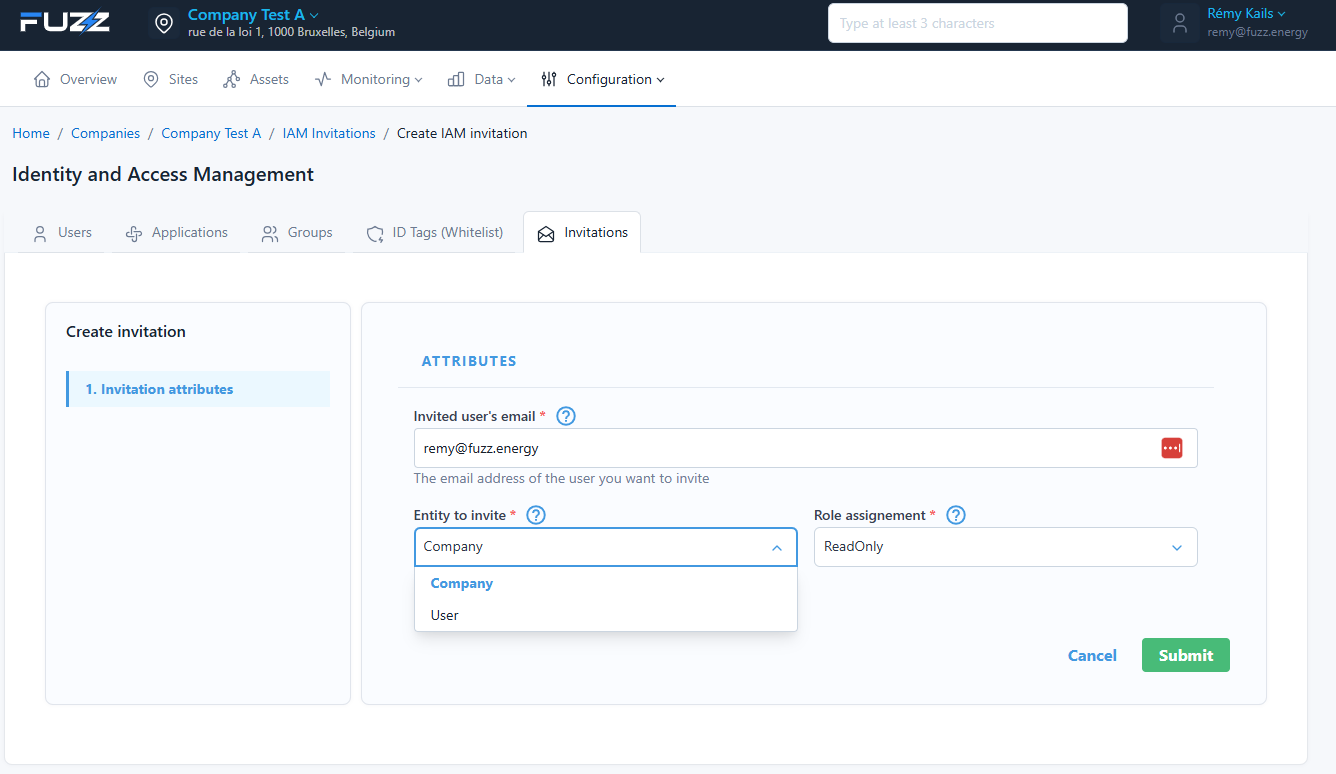
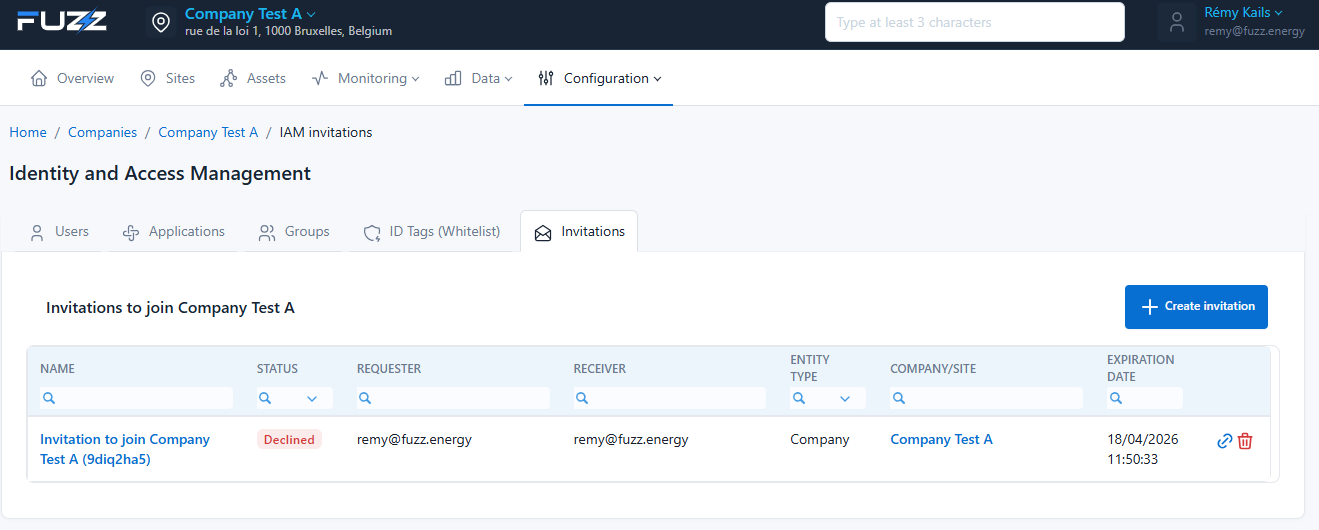
The invitation list lets you view:
- the name
- the status
- the requester
- the recipient
- the entity type
- the company or site concerned
- the expiration date
An invitation can for example be in the state:
- Accepted
- Pending
- Declined
info
It is possible to delete an invitation from the list. This deletes the invitation but does not remove groups shared between Companies if the invitation has already been accepted by the user.
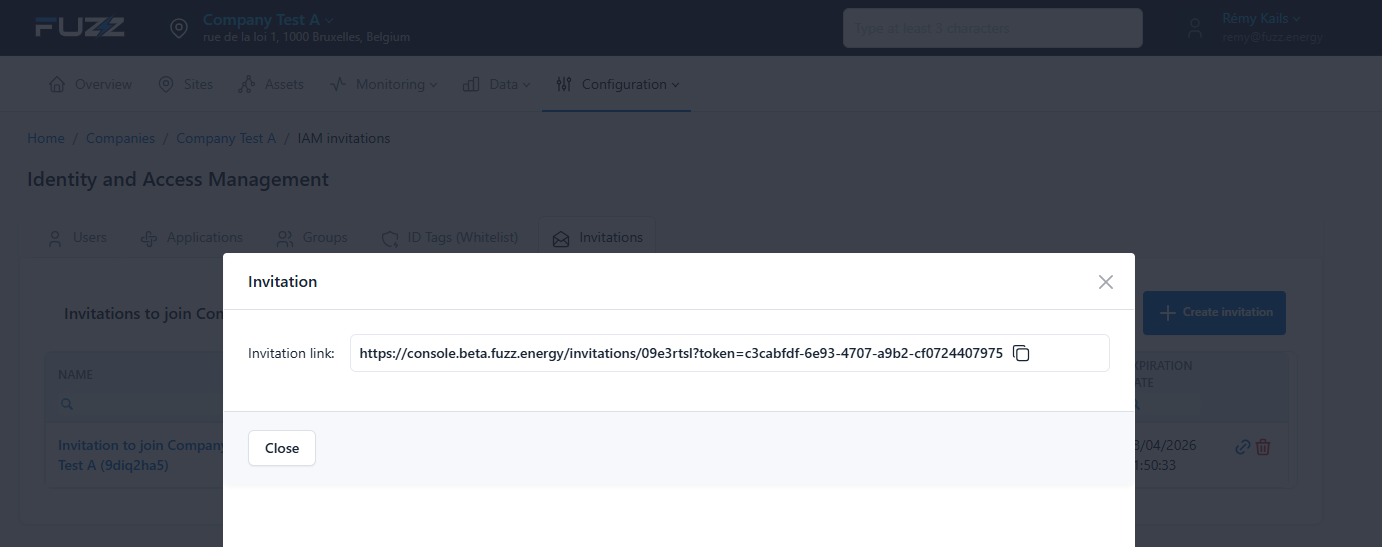
Copying the invitation link
From the list, you can display and copy the link associated with an invitation. This allows sharing the invitation if the invitation email was not received by the user or was deleted.
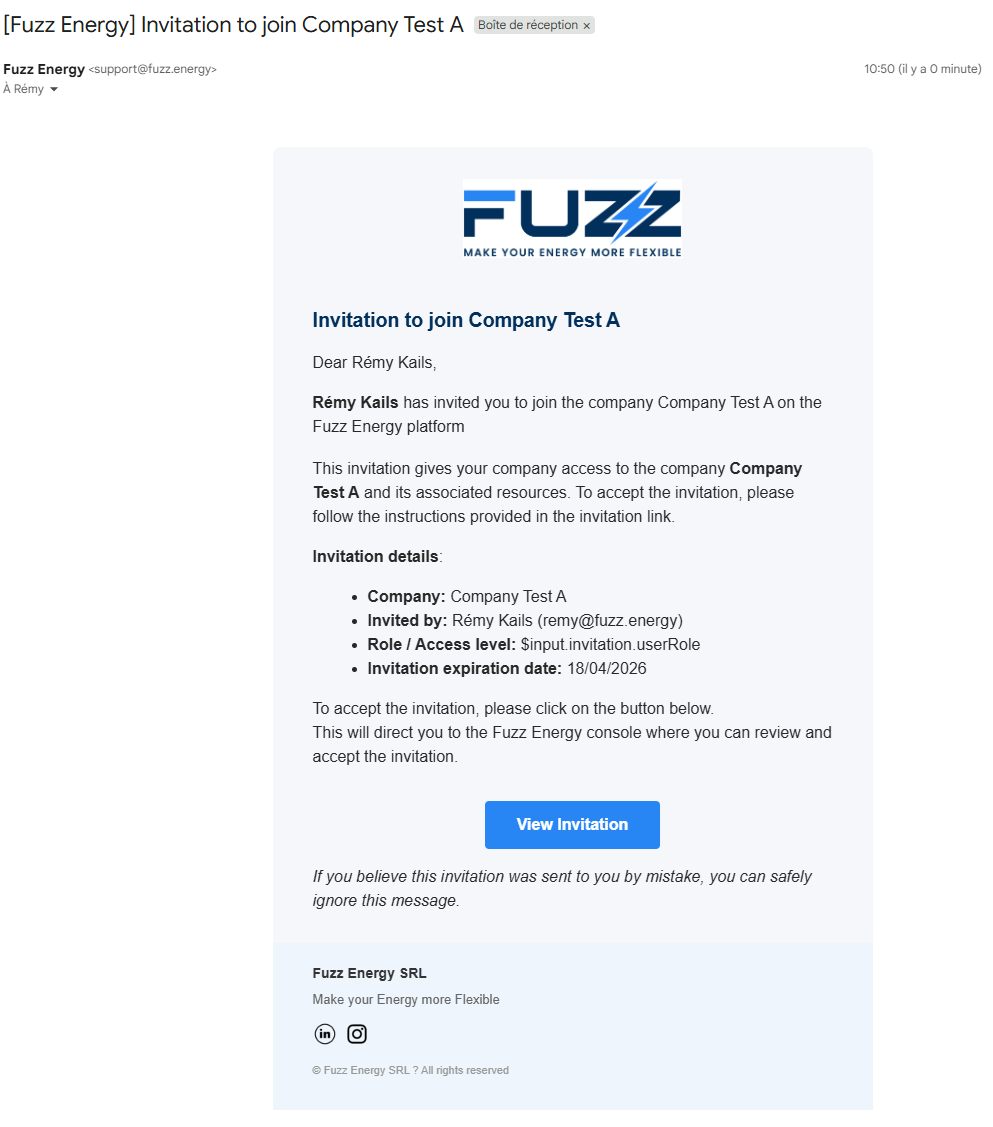
Receiving the invitation
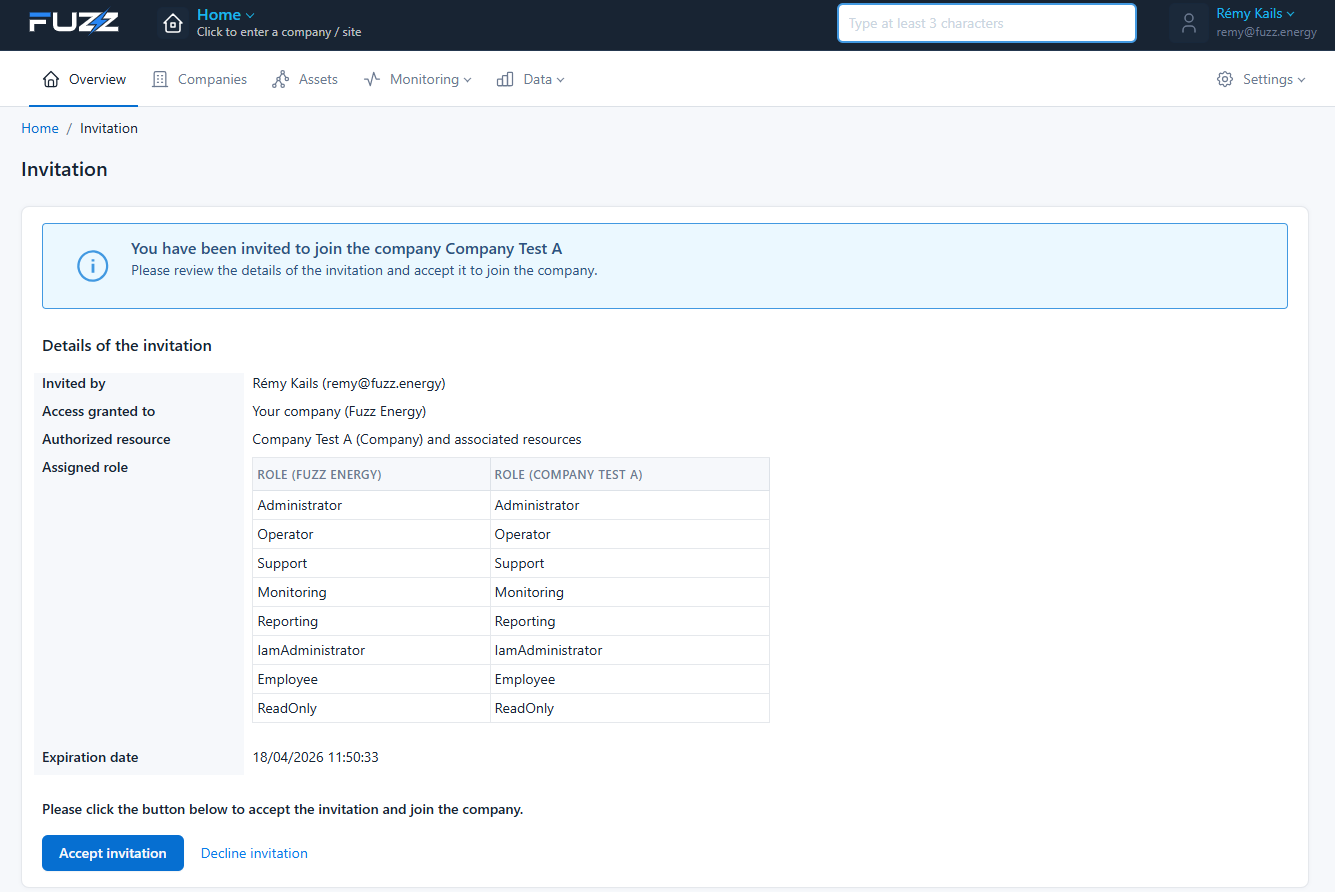
The recipient receives an email containing the main invitation information and a button to access the console.
Accepting or declining an invitation
From the invitation page, the user can:
- review the access details
- check the assigned roles
- accept the invitation
- decline the invitation